
Objective: STEM learning for Key Stages One and Two
Lesson introduction
Help students understand plant growth through creating their own non-coding STEM lab.
Cross-curricular learning has become a popular trend in recent years as it enables teachers to break down complex topics for students, highlight connections between subjects and equip learners with a broad set of creative and logical skills. For primary school pupils, combining cross-curricular studies with hands-on learning is an effective way to introduce complex STEM ideas in an engaging setting.
This plug and play lesson plan is designed with younger students in mind to help them better understand the environment around them, as they can test for soil moisture and determine the optimum conditions to grow healthy plants. Students can take ownership of their learning and discover how electronics and biology can work together through a digital STEM laboratory, with no coding required.
What students will learn:
- Non-coding STEM skills development
- How to make connections with electrical modules
- Plug-and-play exploration
- Cross-curriculum learning
- Autonomous learning
Main lesson: Testing the effects of soil moisture on plants with a STEM lab
With electronic building blocks, some seeds and soil, students can design, build, test and ultimately bring their STEM learning to life. Getting their hands dirty with prepping the soil and planting seeds, students will have fun monitoring the growth of their plants with Soil Moisture Sensors and recording their findings.
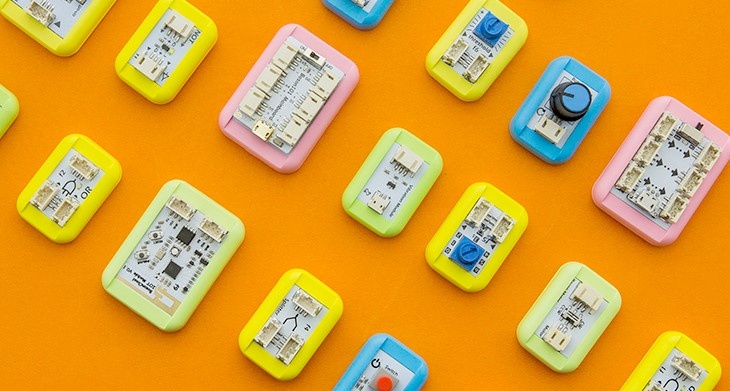
Teachers can use the Boson science kit, which includes main power boards, eight scientific sensors, LED display module and accessories, or alternatively source the modules separately via developers such as Raspberry PI and Arduino.