For teachers who are teaching the subjects of “The Stone Age” and “Evolution and Inheritance” its possible to use an exciting cross-curricular approach to simultaneously teach history, science, art and literacy. The aim is to bring these subjects to life, help children with their understanding and ensure these topics are never forgotten.
Teaching “The Stone Age” to primary school children is the vital, first step in helping them to understand the chronological story of who lived in Britain from the very first inhabitants to modern day. Teaching this topic helps children understand the influences these people had in terms of farming, art and even the first animations. These important mile stones that occurred in the Stone Age have helped to shape our modern society.
Why DNA?
Why teach primary school children about genetic variation? Although DNA is not a requirement of the National Curriculum children are always curious and want to know “Why?”. Why do I have blond hair and green eyes? Why are there so many different hair and eye colours? and so on! This genetic variation is caused by mutations which occur randomly and by chance in our DNA.
Learning about this process enables children to have a greater understanding of the vehicle which drives evolution and hence evolution itself. Learning about DNA and genetic variation at this simple level, will provide the building blocks to help them understand genetics in greater depth when they move on to Secondary school.
There some incredibly beneficial advantages to using the pedagogical approaches discussed in this article to learn about “The Stone Age” and “Genetic Variation”. As well as covering many aspects of the curriculum for literacy, history, art and science combining these subjects helps to reinforce learning. Repeating what has been learnt using different activities within these subjects enables children to remember facts and gain a greater level of understanding.
This is perfect for children who learn in different ways as there are activities designed to complement visual, auditory and kinaesthetic learners. They will especially appeal to children who have difficulty in concentrating.
Another advantage is that children are getting a flavour of the real-life questions (for which children love to get answers!) being posed by archaeologists and scientists. They will get to see and experience the methods of historical enquiry used to answer these questions when faced with the discovery of evidence from the past.
Children can see how the evidence they uncover can be used to support historical theories about how people in the Stone Age lived. They can also see how science is able to take these theories further and answer questions about the past in a way that we never thought would be possible. Children will get to see how by using DNA we can now be sure of things like what people ate and what they looked like. Speculation of how people lived can now be proved and are no longer just a theory! The modern world of science in its application to archaeology and the past is an exciting place. These activities are designed to add to children’s science capital and inspire our next generation of scientists and archaeologists.
Creating The Stone Age In The Classroom
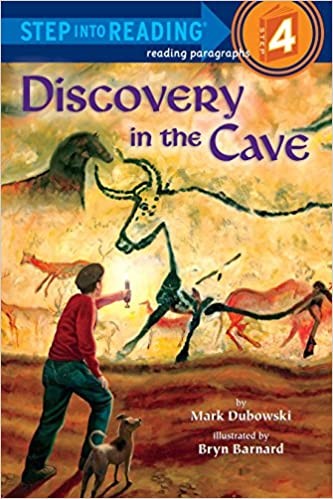
One of the keys to getting the children on board with the topic of the Stone Age is to immerse them in the atmosphere. This will allow their imaginations to fully open up to “what it must have been like”. A great way to do this is to start with cave art and the discovery of the cave paintings at Lascaux. As a class reading the book “Discovery in the Cave” by Mark Dubowski (insert photo 1) or listening to the story online is the perfect introduction to this topic.
(https://www.youtube.com/watch?v=_dIkhob5bFg).
Back up the story with an amazing virtual tour of the caves at Lascaux which should hopefully lead to some “Wow” moments (https://vimeo.com/40849516). To think these paintings were created almost 20,000 years ago and are still visible today is mind blowing! Children can be encouraged to find out more about Lascaux and cave art by reading books or researching online.
Next introduce a timeline of the Stone Age to modern day so children can get an idea of how long ago this all happened. The paintings at Lascaux were created in the Palaeolithic Stone Age (Old Stone Age). Discuss the three time periods in the Stone Age and how people changed from hunter/gatherers to farmers.
Cave paintings were mainly of animals and symbols. Pictures of humans or plants were rare. This is a great point for class discussion. Show some pictures of cave art and ask; What is the purpose of cave art? Was it to communicate a message? To bring success in the hunt? Was it to record what they had caught? Were paintings only found caves? Why is it not found outside caves? Why did they only paint animals and symbols? What do they think the symbols or hand prints were for?
Discussion is a great way for the children to make inferences from what they have learnt about Lascaux, the timeline and people in the Stone Age. Answering and asking questions will help to develop their understanding and explore and clarify their ideas as a class. Identifying that archaeologists ask the same questions when looking at cave paintings will help them understand and appreciate this role.
Stone Age Lifestyle
Stone Age people would have used natural materials like berries and plants, calcium carbonate (from ground up stalactites, stalactites), charcoal and minerals like ochre from the soil mixed with water, blood or animal fat to create the paintings. This helped it survive along with the conditions in the cave. Instead of paint brushes they would have used twigs, moss, feathers, animal bones/hides, spit and their hands.
Light was provided from pine or juniper torches and hollowed out stones containing animal fat with a wick made from reeds. It still would have been dark in the caves, with shadows. Archaeologists have looked at artwork showing animals at different stages in movement. In the shadows they appear to move. These were the first ever animations (https://vimeo.com/171478742). Children can make flip books for their own Stone Age animations (https://www.homeschooling-ideas.com/flip-books.html).
Bring the classroom into the Stone Age by creating cave paintings on the walls. This is particularly effective in a hall way. Scrunched up brown paper creates the natural features of the cave walls. The Stone Age people used these natural features to create characteristics of their animals like eyes or shoulders. This is a great link which describes how you can do this: https://www.instructables.com/id/Kid-Friendly-Paleolithic-Cave-Art/.
Children can paint directly onto the wall – maybe using berries and plants and moss or feather paintbrushes just like they would have used in the Stone Age. A fun approach is to have a secret message the children have to convey. Can the other children guess what it is?
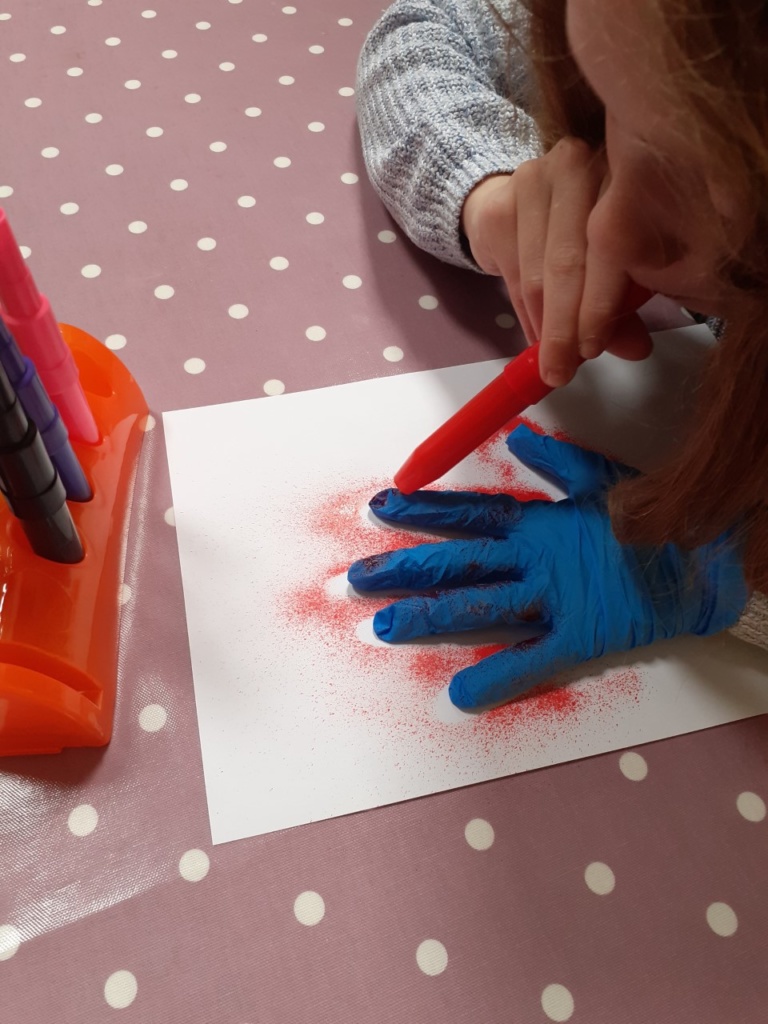
Stone Age people used hollowed out bones or reeds and their hands as stencils to create hand-prints on the walls of the caves ( https://www.youtube.com/watch?v=4I49uteH-EA). Children can re-create this by wearing gloves and using “blow pens”.
The classroom is looking fantastic and the children’s interest in the Stone Age is starting to grow. It’s time for the real “hook”, the discovery of an ancient burial!The Discovery Of An Ancient Grave
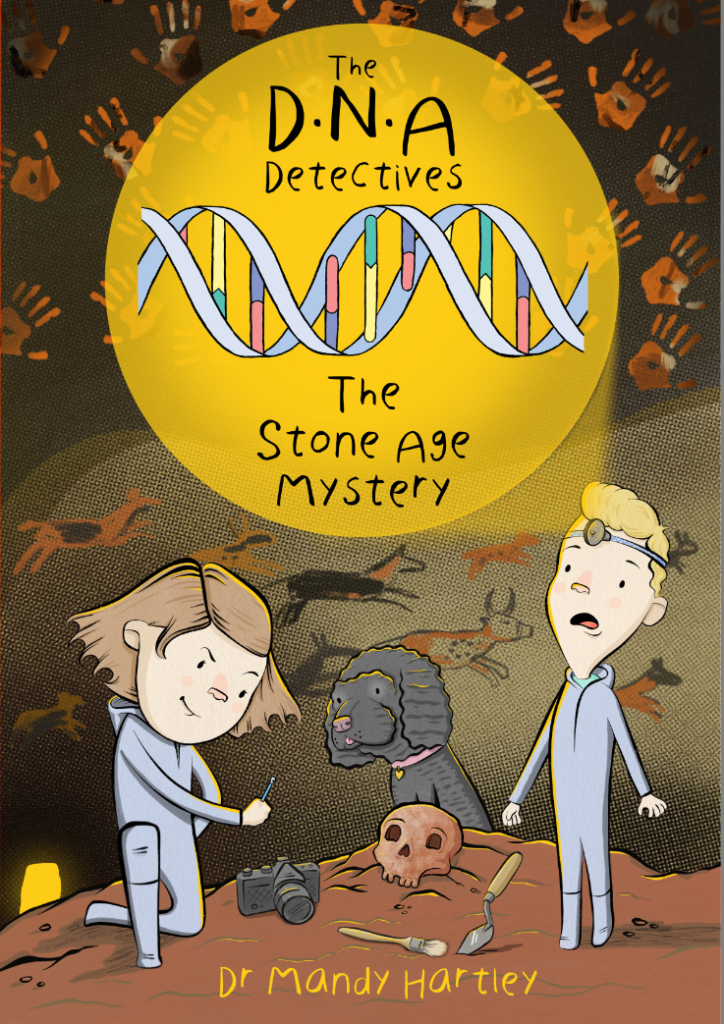
Set the scene by reading the first couple of chapters of “The DNA Detectives – The Stone Age Mystery” (insert photo 3). In this story two children are choosing books from the school library when there is a huge crash. The hall collapses and underneath is a cave. Inside the cave the children discover beautiful cave paintings and an ancient grave. This will build the excitement of what’s to come!
Time to build your ancient grave and get the children to act out the story. This will really help them to understand what they have read and explore the characters in the book. Get them to think about how the different characters behave. Which character are they most like? Acting out the story should encourage the children to want to read on and find out what happens in the story.
Create An Ancient Grave!
You can easily create an ancient grave in your classroom with a few cheap and simple props. You will need (insert photo 4);
- Builders mixing tray (don’t worry if you don’t have one) (insert photo 5)
- Sand
- Skeleton (Halloween props are great) (insert photo 6)
- Birch tar soap or black soap (this will mimic birch tar) (insert photo 7)
- Flint which look like bone scrapers. If you live in a flint area these can be picked up off the fields (insert photo 8)
- Hand axe and large arrow heads. (Purchase a Stone Age replica set or make them out of salt dough) (insert photo 9 & 10)
- Periwinkle shells (insert photo 11)
- Amber (insert photo 12)
- Blanket – grey, yellow or brown in colour.
- Trowels and paint brushes (insert photo 13)
Place the blanket over the mixing tray and position your skeleton on top. Place the sand on top of the skeleton and place one of the arrow heads in the ribs. Bury your artefacts in the sand.
Once the ancient grave has been discovered give the children images of the following;
1. Stone axe
2. Aluminium can
3. Woollen jumper
4. Glass bottle
5. Bone
6. Plastic bag
7. Wooden chair
8. Newspaper
Get the children to think about what would rot away and what would not. Organic items (from animals and plants) will rot away quicker than inorganic items (from rocks, minerals or man-made items).
Get them to group the items into “organic” and “inorganic”. This fits in perfectly with their learning on “living things”, exploring and comparing the differences between things that are living, dead, and things that have never been alive. The children will need to analyse and justify their choices. Bone is the “odd one out” because it is organic (comes from humans/animals), but also inorganic (contains minerals i.e. calcium). This is why bones take longer to rot away.
Next arrange the objects in order of how quickly they will rot away. The children will need to explain the order they have chosen. This will help with their understanding of organic and inorganic objects and how this effects their rate of decomposition.
Answer;
- Newspaper – 6 weeks
- Wooden chair – 20 years
- Woollen jumper – 1-5 years
- Bone – Can last millions of years, oldest human bone found
- Aluminium drinks can – 200 years
- Glass bottle 1 million years
- Plastic bag 10 – 20 years
- Stone axe – millions or billions of years
Can we be sure these times are correct? Can we test it? Exploring the decomposition rates of different types of paper in soil links well with the topic of “Everyday materials” and “Properties and changes of materials”. Children will have opportunity to demonstrate their scientific skills in devising a fair test, controlling different variables, hypothesising which items will decompose quickest and thinking about factors which affect the decomposition rates. How do decomposition rates impact on the use of the paper? The children should record their results observing how the materials change over time. They could also present their results to the class, discussing their findings and how they did it.
This activity will help the children to understand why the artefacts we find from the Stone Age are mostly stone and bones, because other materials would have rotted away. That is why it is called “The Stone Age”, after the stone artefacts that have been left behind.
Now to excavate the grave just like real archaeologists. Using trowels and brushes will make this more realistic and is a great way to add to children’s science capital. Enjoying this activity may encourage them to pursue this career in the future. Their learning objective is to try to build up a picture of the person who is buried here, to find out how old the grave is, how did this person die?
Children are building specialist vocabulary here by learning what an archaeologist is i.e. archaeologists try to find out how people lived in the past by studying sites and excavating, classifying, recording, and preserving objects. Children often get this confused with a palaeontologist (someone who studies the ancient remains of plants and animals preserved in rock i.e. fossils) so it could be worth explaining the difference between the two.
Set up a “finds table”. A black cloth placed over this table will help the artefacts stand out and can become a museum exhibits table. The children can write about the artefacts on display just like real-life museum curators, so visitors can find out more about their discoveries.
Create cards with images of the artefacts on them and information about each item written on the back. As the children discover each artefact, they can read the card and tell the others about it.
Artefacts
- Periwinkles – These all have small holes in them and could have been part of a necklace or bracelet. People from the Stone Age also made necklaces from bone, animal teeth and pebbles.
- Hand axe – Very important tool. Used for cutting meat and plants. These are the oldest tools known to be used by man. The wooden handle has rotted away.
- Arrow head – Used for hunting. These are from the Palaeolithic. As Stone Age people became more skilled, in the Mesolithic they produced much smaller arrow heads called microliths. They were very skilfully crafted.
- Bone scraper – They were made by chipping the end of a flint to get a sharp end. The rest of the flint was blunt so it could be held. They were used to remove skins from animals so they could be made into clothes.
- Birch tar – A natural glue which you get from heating tree bark. Used to attach arrow heads and other tools to the arrow or handle.
- Amber – Created millions of years ago when tree sap ran down trees trapping insects inside and then turning into a solid. Brought here from the Baltic sea area in Northern Europe as people moved to different places and traded.
Get the Children to draw, measure, weigh, record and observe the different items
(https://www.yac-uk.org/userfiles/file/1429014915_Artefact_investigation.pdf).
The items can also be classify into groups i.e. stone tools, jewellery etc. Children should be encouraged to find out more about the artefacts. They may want to visit a local museum, go to the library and find books on the topic or research it online. All these secondary sources will increase their science capital and help them to learn where to look for information.
What can we tell about our skeleton?
What does their research and observations tell them about the person buried here? Can they identify what period of time they come from? Can they mark this on the time line? The larger, basic stone tools and lack of pottery and metal indicates the grave dates to the Palaeolithic period. Pottery and metal came later in the Neolithic.
Do we know how they died and were they important? What job might they have had? They were buried with amber. A rare and valuable item that would have been obtained through trading. They were also buried on their own in the cave with tools. These tools took a long time to make and were incredibly useful. Once buried it took them out of use. Does this mean this person was important? They were buried with arrow heads. Were they a hunter? This discussion will help the children clearly explain their understanding and their ideas.
Finishing the lesson by reading “The DNA Detectives – The Stone Age Mystery” where the archaeologist in the story describes what they can tell about the skeleton in the cave from looking at the artefacts is a great way to consolidate what the children have learnt.
What Did The Skeleton Look Like
We can use DNA to find out what our skeleton would have looked like. To do this scientists would extract DNA from the skull and teeth. Children can find out more about how DNA is extracted from ancient skeletons by clicking on the following links;
https://www.youtube.com/watch?time_continue=779&v=TQ8dc0XhUMM&feature=emb_logo –
watch about 12 minutes into the video
Why not have a go at extracting some DNA from fruit (https://jwp.io/s/2TJuu0El) so the children can see what it looks like, or go to a virtual online laboratory and extract DNA just like real scientists with pipettes and centrifuges;
https://learn.genetics.utah.edu/content/labs/extraction/
What is DNA?
Use a box of Lego as a prop. Hold up the box and ask “What would you use to make this model?” That answer is of course the instructions. That is what DNA is, a set of instructions to build us.
It contains the information that decides our hair, eye and skin colour, even whether we like brussel sprouts or can roll our tongues and of course much more! Everybody’s DNA is different and unique to them (unless you are an identical twin). It’s not just humans who have DNA, all living things have DNA including plants, animals and micro-organisms.
Our alphabet has 26 letters, DNA is like the alphabet but it has just four letters A, C, G and T and they form a pattern or sequence which make up our instructions. To find out what our skeleton looks like we are going to compare the unknown DNA sequence with DNA sequences called “reference DNA” where we do know the colour for hair, eye and skin (genes).
To make the DNA from your skeleton you can use indoor hockey balls of 4 different colours which have holes in them or soft play balls linked together with string. Use about ten balls for each gene (label them as hair, skin and eye colour) and link them together on the same string. It doesn’t matter what the sequence is (insert photo 14).
To make the reference DNA for each gene create one DNA sequence which matches the unknown DNA sequence, the others should vary by changing one letter e.g. if our skeleton has black hair the reference DNA should match this. The other hair colours you use e.g. ginger, blond won’t match (insert photo 15).
Get the children to match the reference DNA with the unknown DNA sequence. A Girl’s World or model head (insert photo 16) can be used to build up an image of what the person looks like. Wigs/wool can be used for the different hair colours, tights for skin colour and eyes made out of card (insert photo 17).
Scientists use this technique of comparing unknown DNA to reference DNA in real life to predict what someone looks like. However, they use computers and instead of 10 letters, each gene can be 1000’s of letters long and eye, hair and skin colour are determined by at least 13 genes for each feature. Scientists have used DNA to establish what “Cheddar Man” looked like. They have even been able to obtain DNA from some birch tar and find out what the person who chewed it looked like!
The children can now have a go themselves by matching the DNA to work out what your mystery skeleton looks like.
https://www.yourgenome.org/activities/recreate-a-face
This activity is a great opportunity for children to get a flavour of how DNA is being used to answer questions about the past and to increase their science capital. Inspirational work like this could encourage our next generation of future scientists.
For year 6 pupils using DNA to find out what a skeleton looks like is a great way to help with their understanding of the topic “Evolution and Inheritance”. Understanding what causes variation is key to understanding what drives evolution. This is a fun way to demonstrate this to children and should really enhance their being able to make sense of what makes them all different.
Get the children to observe variation in their own features. Which features are inherited from their parents and which are not? How many different types of hair, eye colour etc are there in the class? The weblink below explains how to facilitate this in the classroom.
https://teach.genetics.utah.edu/content/heredity/files/InventoryOfTraits.pdf
Ask the children to observe and compare the patterns for the reference DNA for each colour of hair, skin and eyes. How are they different? These differences are called “mutations”, they happen randomly and by chance and are the cause of variation in skin, hair and eye colour.
This activity is described in Chapter 17 of “The DNA Detectives – The Stone Age Mystery” and is a great way of reinforcing what the children have learnt. In addition, the book discusses the evolution of blue eye colour, caused by a random, chance mutation that occurred as people moved from Africa into Europe. This is another way that children can relate that what they have learnt to real-life situations.
The huge variety of activities described in this article have been designed to help children learn about the Stone Age and genetic variation. They include hands-on interactive tasks, writing records, following instructions, reading, investigation, problem-solving, observation, recording, evaluation, asking questions and reinforcing learning.
The variety in tasks is planned to appeal to the different way children learn, keep them engaged and having fun. When children are having fun, they don’t realise they are learning and that is the best way! Most importantly children are getting a flavour of how real-life scientists and archaeologists work together to find out about the past. Hopefully, this will inspire some future archaeologists and scientists.
Amanda Hartley is the founder of “The Little Story Telling Company”
Register for free
No Credit Card required
- Register for free
- Free TeachingTimes Report every month