3D printing is a popular tool in industry and is set to become a fundamental manufacturing method. It involves forming a product layer-by-layer, until the finished part has been completed. As it has grown in popularity, the technology has become more affordable and is therefore easier to justify for schools.
There are two primary ways to use a 3D printer in the classroom. The first is to use it to produce a physical model that illustrates a learning point, in effect producing your own resources for the classroom. The second is for the pupils to design their own pieces in order to develop their practical and problem-solving skills. The technology helps children to learn through trial and error, moving from design and conception right through to making a physical product. They can then interrogate their physical product to identify their mistakes and areas for improvement. Because they can also take their items home, pupils have something to get excited about with family and friends, too.
Linking with the curriculum
To make the best use of a 3D printer, schools can map which projects they will use it for over the school year, to prevent any bottlenecks—it is best to prevent projects from overlapping. In secondary schools, for instance, exam groups should take priority; particularly around their coursework deadlines. Meanwhile, primary schools could grant each year group use of the 3D printer for a single term. This can ensure there is enough time for every student’s design to be made.
There are clear overlaps in the new GCSE curriculum in England and Wales, as the design and techology syllabus includes investigating and understanding additive manufacturing. Design and technology at Key Stage 3 may also benefit, more from a trial-and-error perspective.
Primary school projects can be tied into more than just design and technology subjects by linking the nature of the design to the project. For example, this could involve printing pyramids for the Year 4 Egypt curriculum—or totem poles, volcanoes or fossils—while these are being studied. One popular project used in primary schools is for children to design their own keyrings, but they can also print name badges for their trays, coasters or bookmarks. We have also run a project where primary school children design a pen pot for their table, which involves measuring their stationery and incorporating basic shapes.
Getting down to the design
There are free design software tools that are well-suited to the classroom. For younger children, the easy-to-use 3D computer-aided design (CAD) design tool Tinkercad is a great platform, which even includes a two-lesson tutorial that teachers can follow step-by-step. A child can use Tinkercad to design their product and personalise it, for example, by adding their own name.
To use it, the teacher registers, sets up a class and shares its code. They can manage all the students’ designs, while looking out for particular design features that ensure these can be printed. For example, a design requires an overlap between all the parts in order to be printed as one piece; and it needs to be flat on the bed, not above or below the workplane. Some other designs do not print well as they will break, require supports or are too large—such as ring shapes.
The next step is to use a slicing software tool specific to the 3D printer that you are using. This slices the model into layers and converts the file format into an .stl format so that the 3D printer understands how to print it. You then save the .stl file on the printer’s SD card, insert it into the printer and select the file. The printer will then be able to produce the design.
GCSE and A Level groups may benefit from more advanced design engineering software tools, like Autodesk Fusion 360 for students and educators. For example, we have run a project with secondary school children to design a headphone wrap to prevent their headphones from becoming tangled. As each pupil’s headphones are different, they must take measurements, model an idea and then create it. This is a more creative process that gives them more freedom than the projects aimed at younger children.
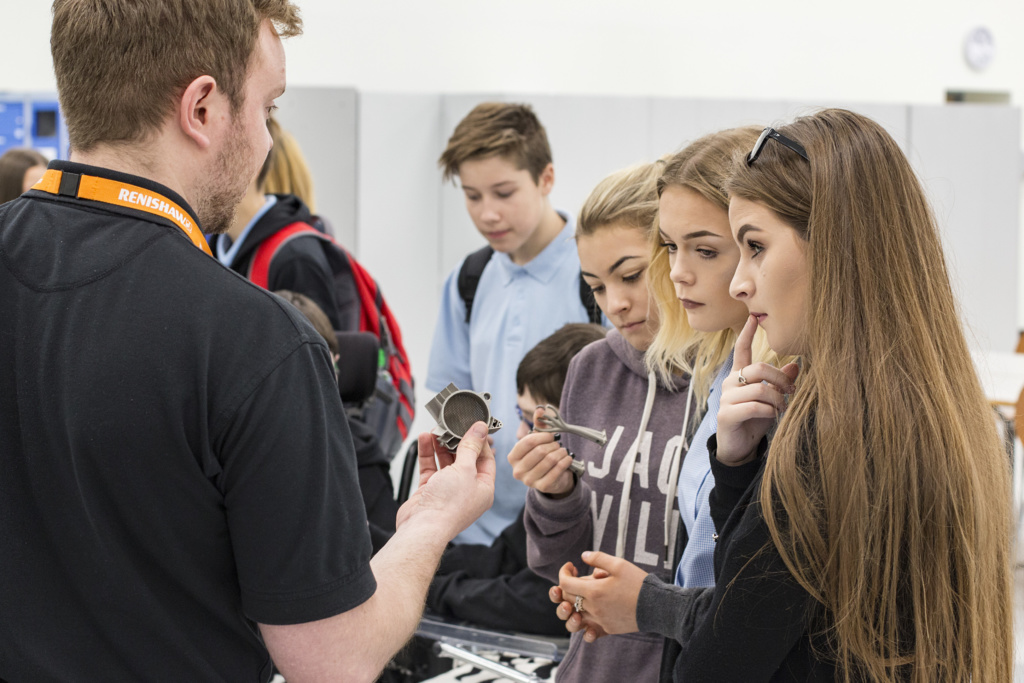
One example of a project, undertaken by an A Level product design group at Radyr Comprehensive School, was to design a door handle for an industrial metal 3D printer. The school worked with engineers to complement the curriculum and open students’ eyes to its industrial application.
‘The students have learned how the way they draw can impact the finished project,’ explained Richard Jenkins, Assistant Headteacher at Radyr. ‘Using a 3D modelling package means that pupils must think critically about how the final product will be manufactured. This is different from the traditional design method in school, which is simply to draw a design by hand and then make the item manually. The 3D printer has given pupils a better understanding of how design works and, importantly, has beaten the misconception among the students that being talented at drawing is essential for product design.’
Getting started
If your school does not yet have access to a 3D printer, you can consider either buying or loaning one. CREATE Education and Renishaw’s education team in South Wales both have loan schemes, which means your school may be able to sign up to access the equipment for free.
You will also need to consider which 3D-printable materials are suitable for the classroom. Polylactic acid (PLA), a safe and non-toxic material, may be a good option. One tip is to store it in an airtight container, to prevent it from going brittle. Other, alternative materials may release fumes and, if this is the case, the school must have ventilation in order for this to be safe.
You will also want to conduct a full risk assessment and think about safety measures, such as signs around the printer. Younger children should be supervised around the printer at all times, and the machine should not be left running overnight in case it becomes jammed. Blockages can usually be fixed by running a test print to push the blockage out, but you may require outside assistance if the blockage is major. Another challenge a teacher might face is that the product is not sticking to the printer bed. This can often be resolved with a simple recalibration.
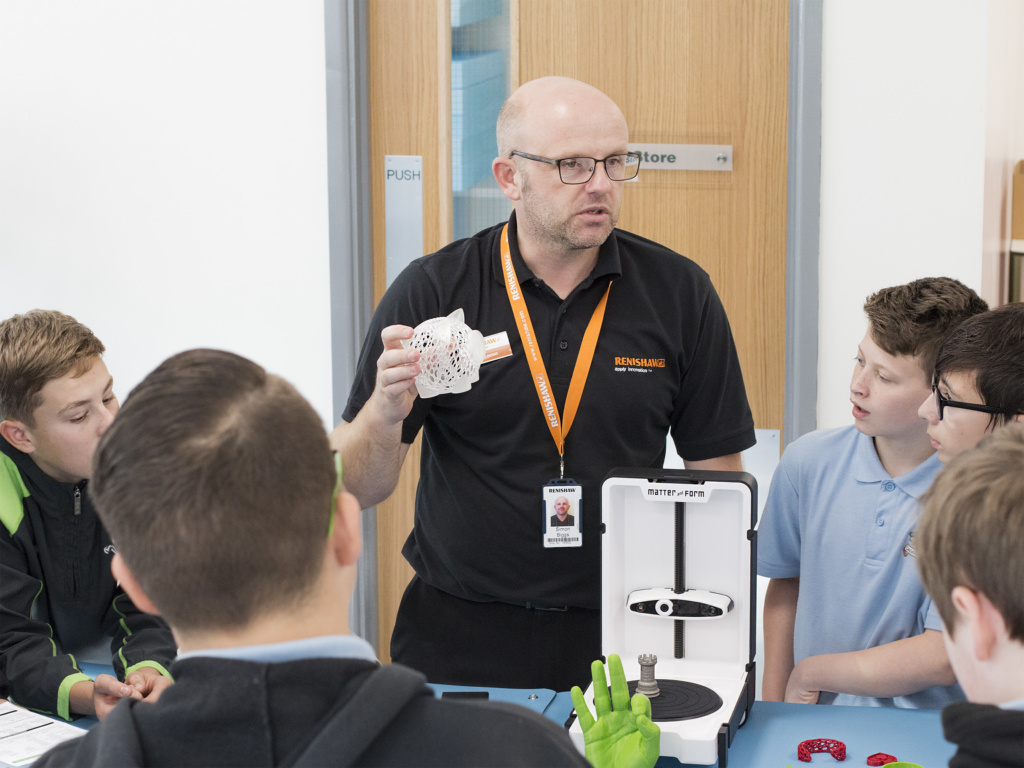
When you first introduce the children to the technology, you can include a safety briefing, to explain that it can be hot and has moving parts, so pupils should not touch it when it is running. An explanation of how 3D printers work, as well as a demonstration where the teacher prints something in front of the class, is a good place to get started. Once a child is underway with their project, it can be beneficial for them to work on them at home, too, to take charge of their own learning. Tinkercad can be accessed from an app or from a laptop, meaning many children will be able to use it remotely.
Once they have been trained, most teachers are confident operating their 3D printer. However, there are some frequently asked questions to address. Resources can be found for free on the CREATE Education blog and teachers can also access free models on Thingiverse, a website for sharing user-created digital design files. There are also many YouTube tutorials that talk through the different designs.
Simon Biggs is the Education Outreach Officer for Renishaw. For additional support with with 3D printing, visit www.renishaw.com/educationoutreach.
Register for free
No Credit Card required
- Register for free
- Free TeachingTimes Report every month